![]() Internet of Things Device: AmbiLamp
Explore the full breadth of an internet of things system.
Designed by:
Stazia "WigginWannabe" Tronboll
and
Colin "MrSwirlyEyes" Keef
Internet of Things Device: AmbiLamp
Explore the full breadth of an internet of things system.
Designed by:
Stazia "WigginWannabe" Tronboll
and
Colin "MrSwirlyEyes" Keef
Introduction
Welcome to PiB's Introduction to IoT: AmbiLamp. We aim to introduce you to the full breadth of topics that go into an Internet of Things device, inviting you to delve deeper into the areas that interest you.
IoT is all about wirelessly hooking devices together, so that computing becomes ubiquitious. In an IoT world, everything will be a 'Smart Thing'. Smart refrigerators, coffee machines, umbrellas, signs - it'll all be talking to other smart devices, to interconnect the physical world the way the internet has connected the software world.
We believe that these Smart Things fall into a few categories, based on how they help the human user:
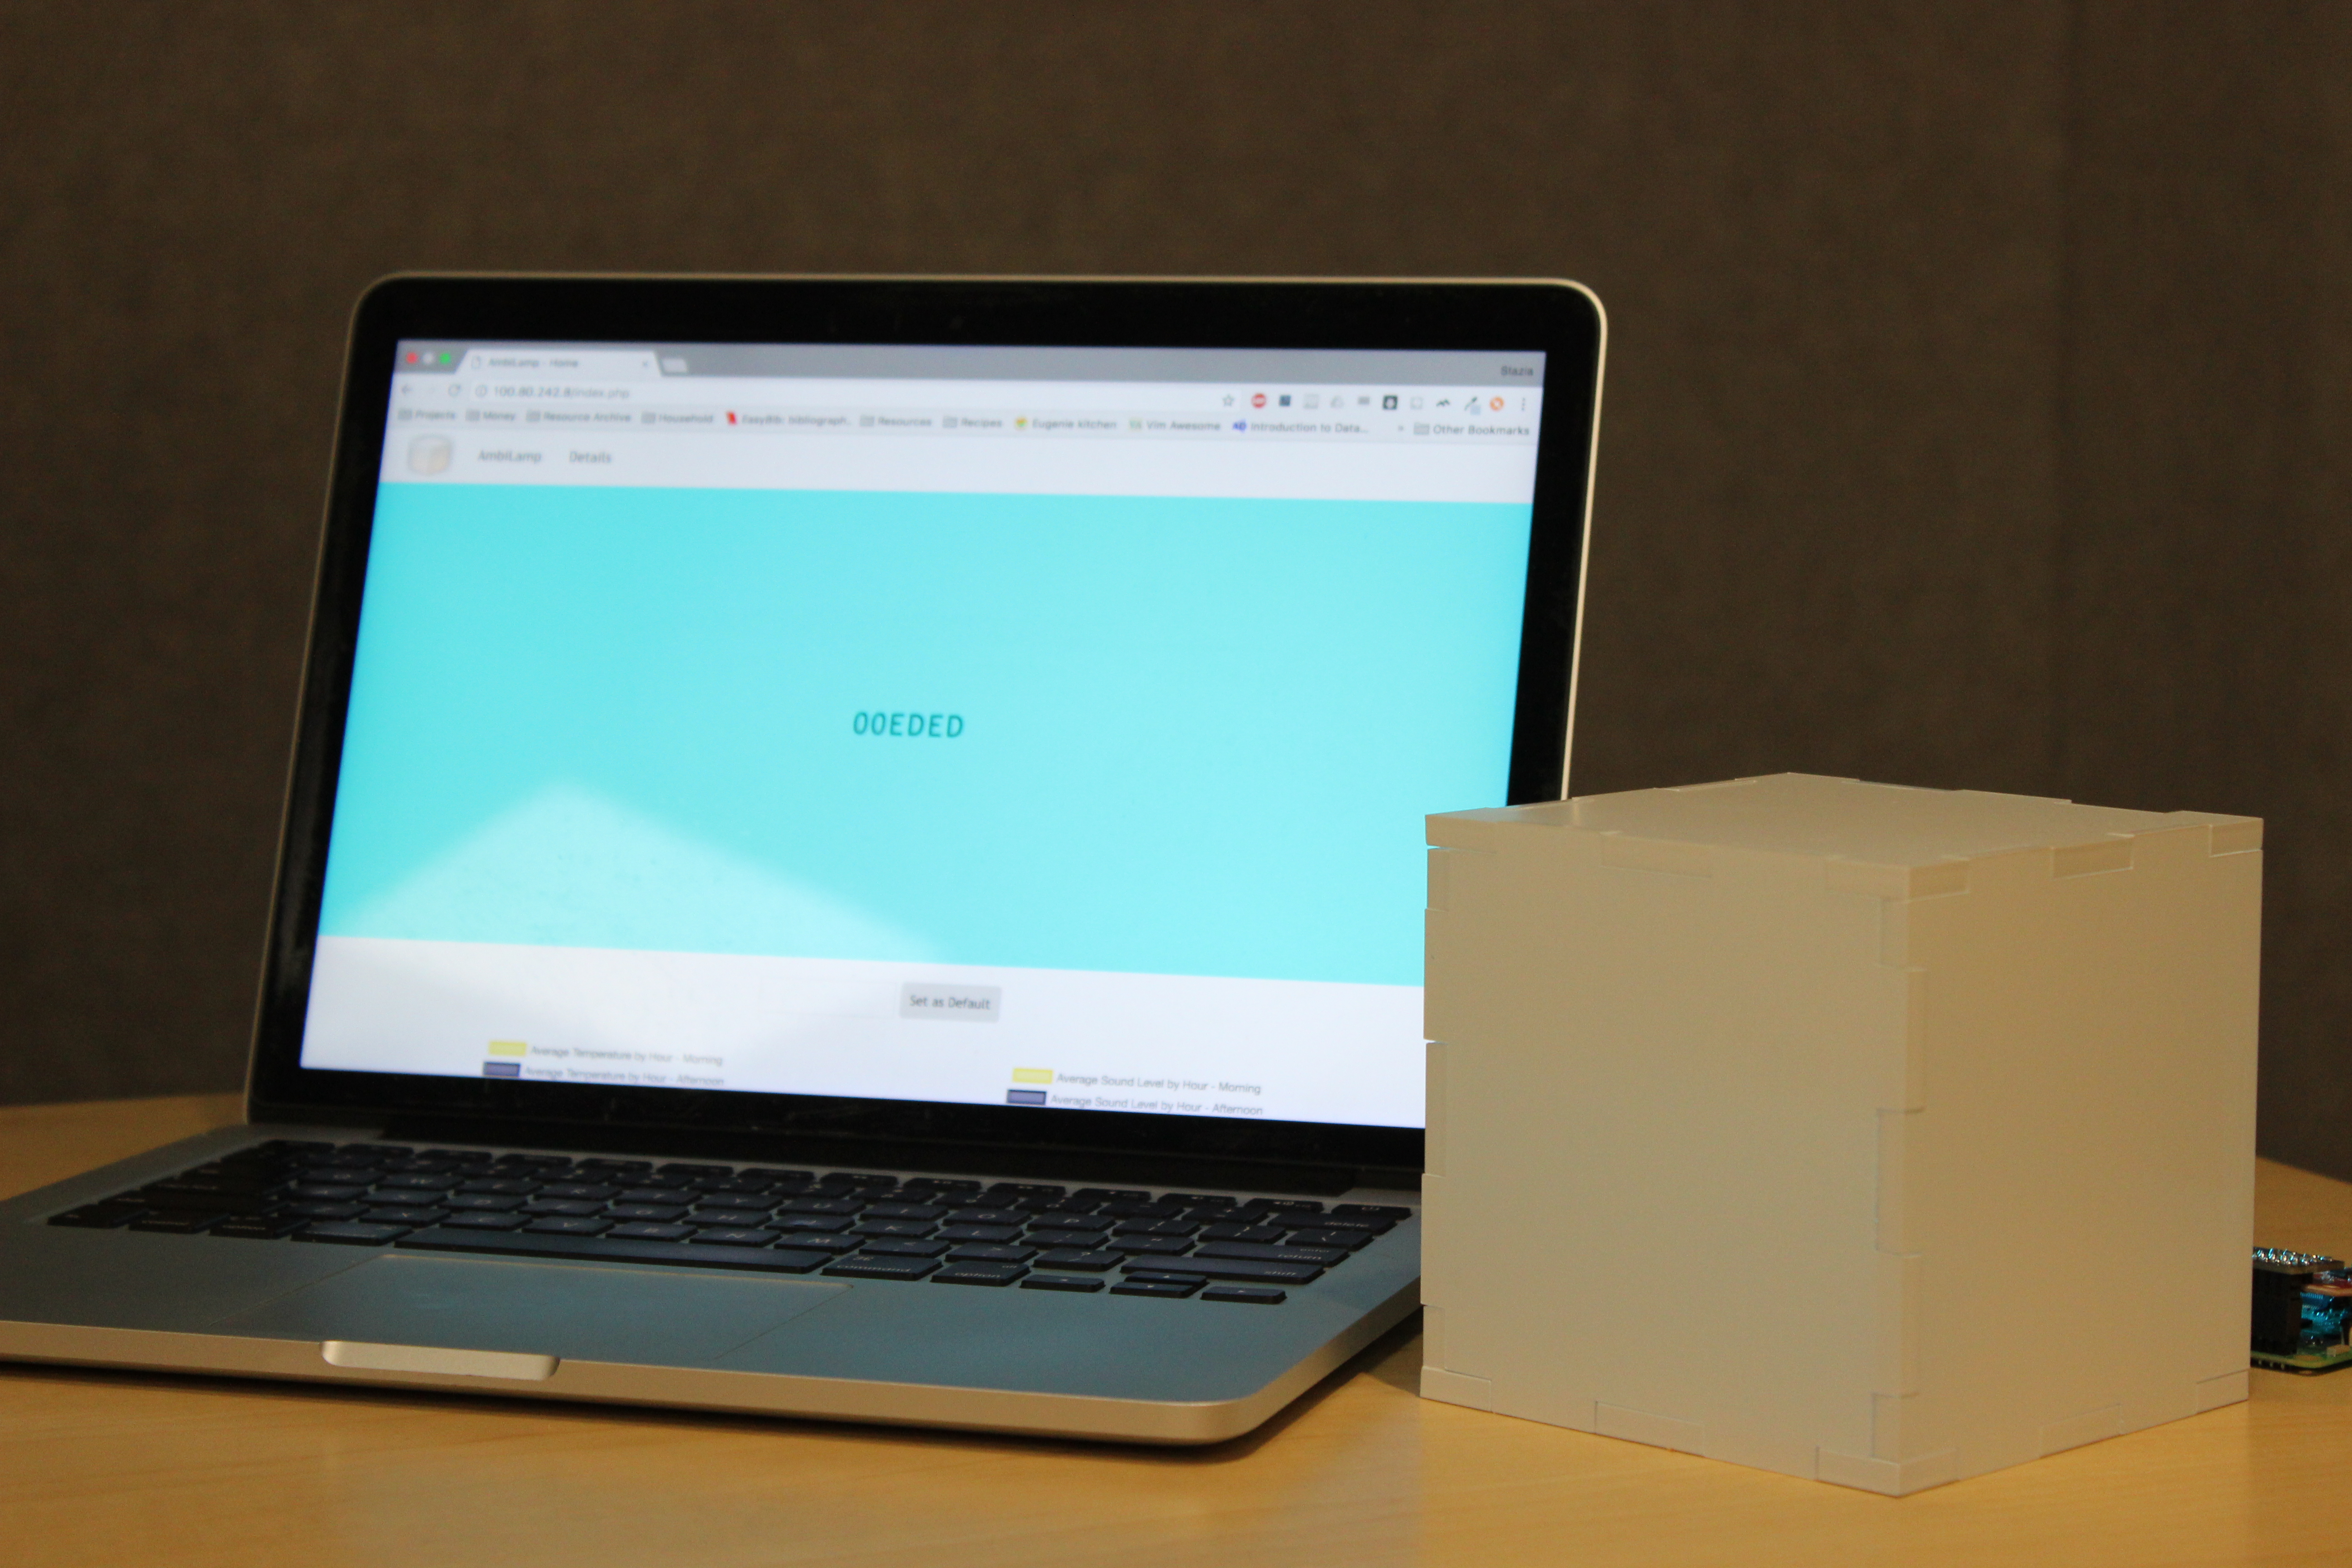
The AmbiLamp project is an informer and a controller. We'll be building a web app and two pieces of hardware which talk to it. The AmbiLamp - Ambient Lamp - is a set of sensors and an LED that store information about your environment in a database. The web app then reads from the database and displays the data in charts and tables. In the other direction, the user can control the light of the lamp from the web app. Finally, you'll be making an Alexa device that offers a hands-off way of informing the user by training skills that interact with the API offered by the web app. Check out the video below for a demonstration.
Overall Learning Objectives


Required Tools and Equipment
Bill of Materials
| DEVICE | VENDOR URL | QUANTITY | NOTES |
|---|---|---|---|
| SSD1306_OLED_SCREEN CONNECTOR | Vendor | 1 | |
| USB_SERIAL_CABLE | Vendor | 1 | |
| USB_SERIAL_CABLE CONNECTOR | Vendor | 1 | |
| 0.1UF_SMD-805_50V-10% | Vendor | 4 | |
| 10KΩ_SMD-0805_1/8W-5% | Vendor | 5 | |
| 1KΩ_SMD-0805_1/8W-5% | Vendor | 3 | |
| 2KΩ_SMD-0805_1/8W-5% | Vendor | 3 | |
| TEMPERATURE-SENSOR_DHT22 | Vendor | 1 | |
| PHOTORESISTOR | Vendor | 4 | |
| MCP3008SO-16 | Vendor | 1 | |
| LED-5MM-PTH_RGB-CA_CONNECTOR | Vendor | 1 | |
| RPI-GPIO_CONNECTOR | Vendor | 1 | |
| SOUND-DETECTOR_SPARKFUN | Vendor | 1 | |
| SOUND-DETECTOR_SPARKFUN CONNECTOR | Vendor | 1 | |
| FEM_FEM_CONNECTOR 20 pk | Vendor | 1 | |
| COMMON ANODE RGB LED 100 pk | Vendor | 1 | |
| Pi 0 W Kit | Vendor | 1 | |
| OLED Screen | Vendor | 1 | |
| PCB Board | 1 | No vendor link - we custom designed it |
We've broken the project up into five modules - two for setup, and three parts of a system. Start with Raspberry Pi Setup and MEN Stack, and follow the map up.
Please complete the MEN Stack portion on your PC. While it is possible to set one up Raspberry Pi, it will be painfully slow on the Pi Zero.

